
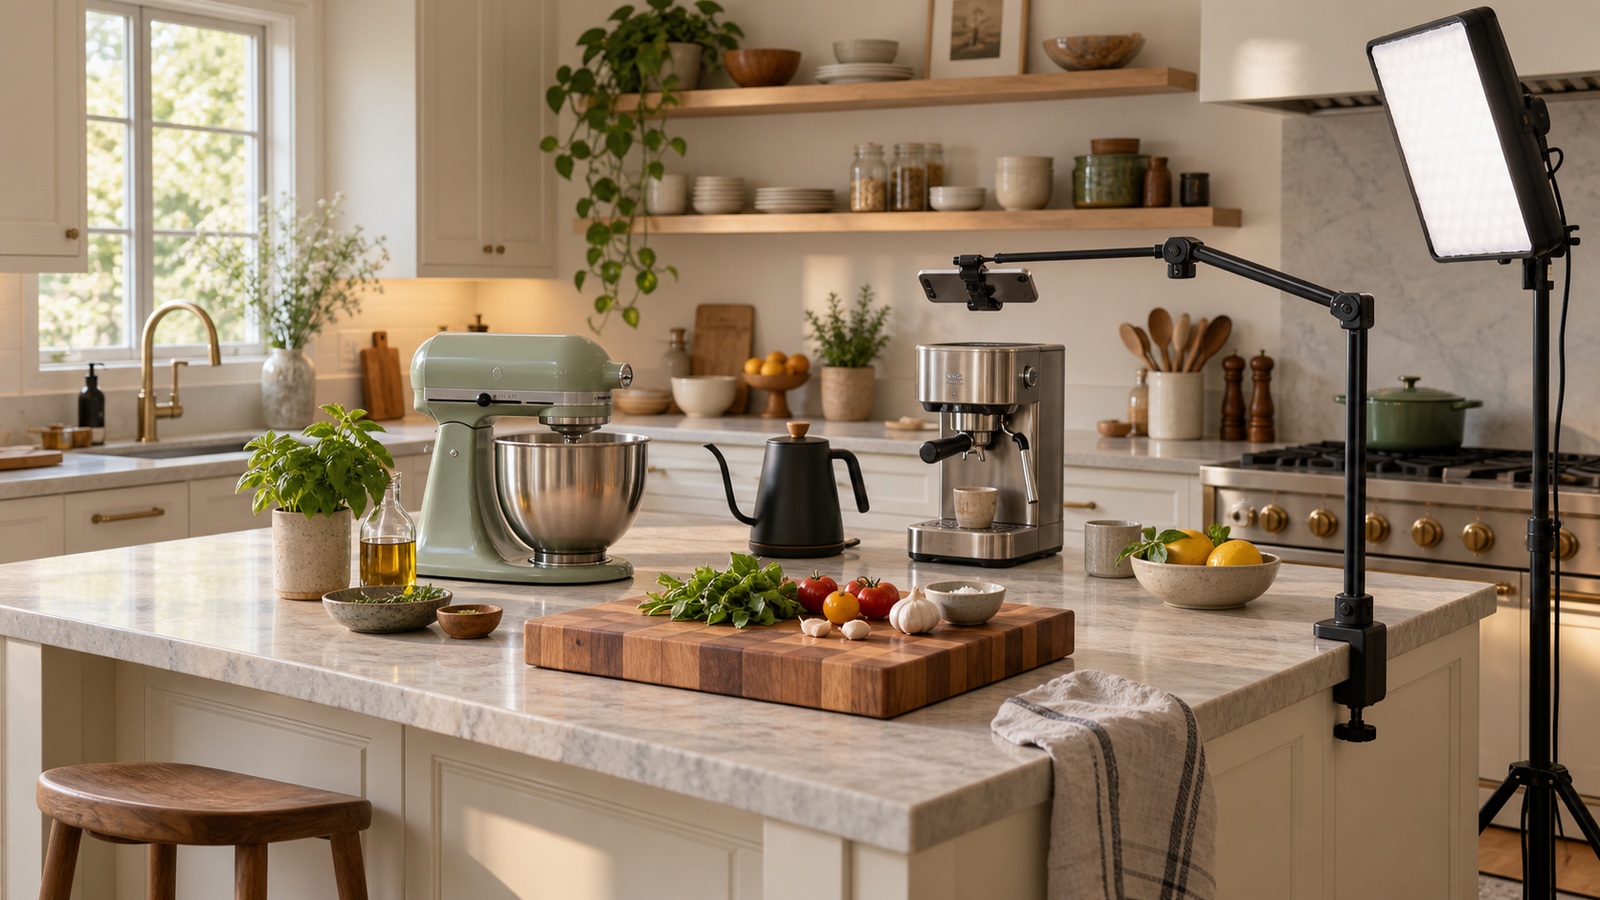
A beautiful oven still makes gray food under one ceiling bulb. The appliance did its job. The room did not.
The verdict up front: fix the light and overhead angle before the camera or oven. Then make every visible tool pass 2 tests: it cooks well and behaves under continuous light.
1. Fix the light before anything else
Lighting changes the whole frame, so it is the highest-impact purchase. Put one adjustable white LED beside the food and use a window or pale wall to soften shadows.
The Elgato Key Light reaches 2,800 lumens and adjusts from 2,900K to 7,000K, enough range to match warm bulbs or daylight. That output is more than an occasional phone clip needs. Start with a smaller adjustable-white panel if your counter is modest.
2. Lock the overhead angle
The useful cooking shot is often the awkward one: hands, board, and pan seen from above. A counter-clamped overhead arm repeats that view without a tripod in the walkway.
Check the clamp opening and test for vibration. A light arm can shake when you knead dough or chop beside it. With a thick counter edge or drawers below, a floor stand may be more stable.
3. Choose surfaces that manage reflections
The first time we shot a pour-over on a glossy black kettle, the ring light appeared as a white bar across the body. Repositioning the light moved the stripe. It did not remove it.
If pour-over is already part of your work, the linked Fellow Stagg EKG Pro is the matte-black, 0.9-liter model. Its gooseneck controls the pour, but camera finish alone does not justify replacing a working kettle.
Wood is quieter in the frame. The linked John Boos block is 15 by 15 inches, 3 inches thick, and 19 pounds. It stays planted during prep, but it is awkward to move and requires hand-washing plus regular oil and cream.
4. Control sound before buying hero appliances
A close microphone usually improves narration more than a new camera. A wired model snags easily, but it keeps your voice ahead of the refrigerator and range hood.
Judge permanent appliances by noise, footprint, and use. The linked matte-black KitchenAid Artisan is a 5-quart KSM150PS weighing 22.8 pounds, with a roughly 14-by-14-inch footprint before head clearance. It earns that space through weekly mixing, not a handsome silhouette.
The Breville Barista Express keeps grinder and machine in one footprint, with the cleanup that milk and loose grounds bring. Run a high-power blender as a separate cut. Its motor will win an argument with your microphone.
Budget by tier
Starter: use your phone, a window, and the board you already own. Prop the phone securely and make 20 videos before buying dedicated filming gear.
Professional: add the overhead arm, one adjustable light, and a close microphone. This is where most of the visible and audible improvement happens.
Studio: upgrade the camera and visible appliances only after the earlier kit exposes a real limitation. Permanent counter space should be earned by weekly use.
Who should skip most of this
None of this applies if a camera rarely points at your counter. Buy for cooking and cleanup instead. If you are testing whether food content will become a habit, the phone-against-a-mug phase is useful evidence.
Small kitchens should also resist buying a set. An overhead arm that changes every shot deserves space before a mixer that appears in the background and gets used once a month.
Buy in the order the viewer experiences the kitchen: light, angle, sound, then appliances. The frame should earn the gear before the gear takes over the frame.
Source note
The reflection observation comes from Inevitable Ape shooting experience. Product variants and dimensions were checked on 2026-09-08. Lighting figures come from Elgato’s Key Light specifications.
More field guides
Research the next purchase
Choose the room or problem you are working on next.
Browse all guides