
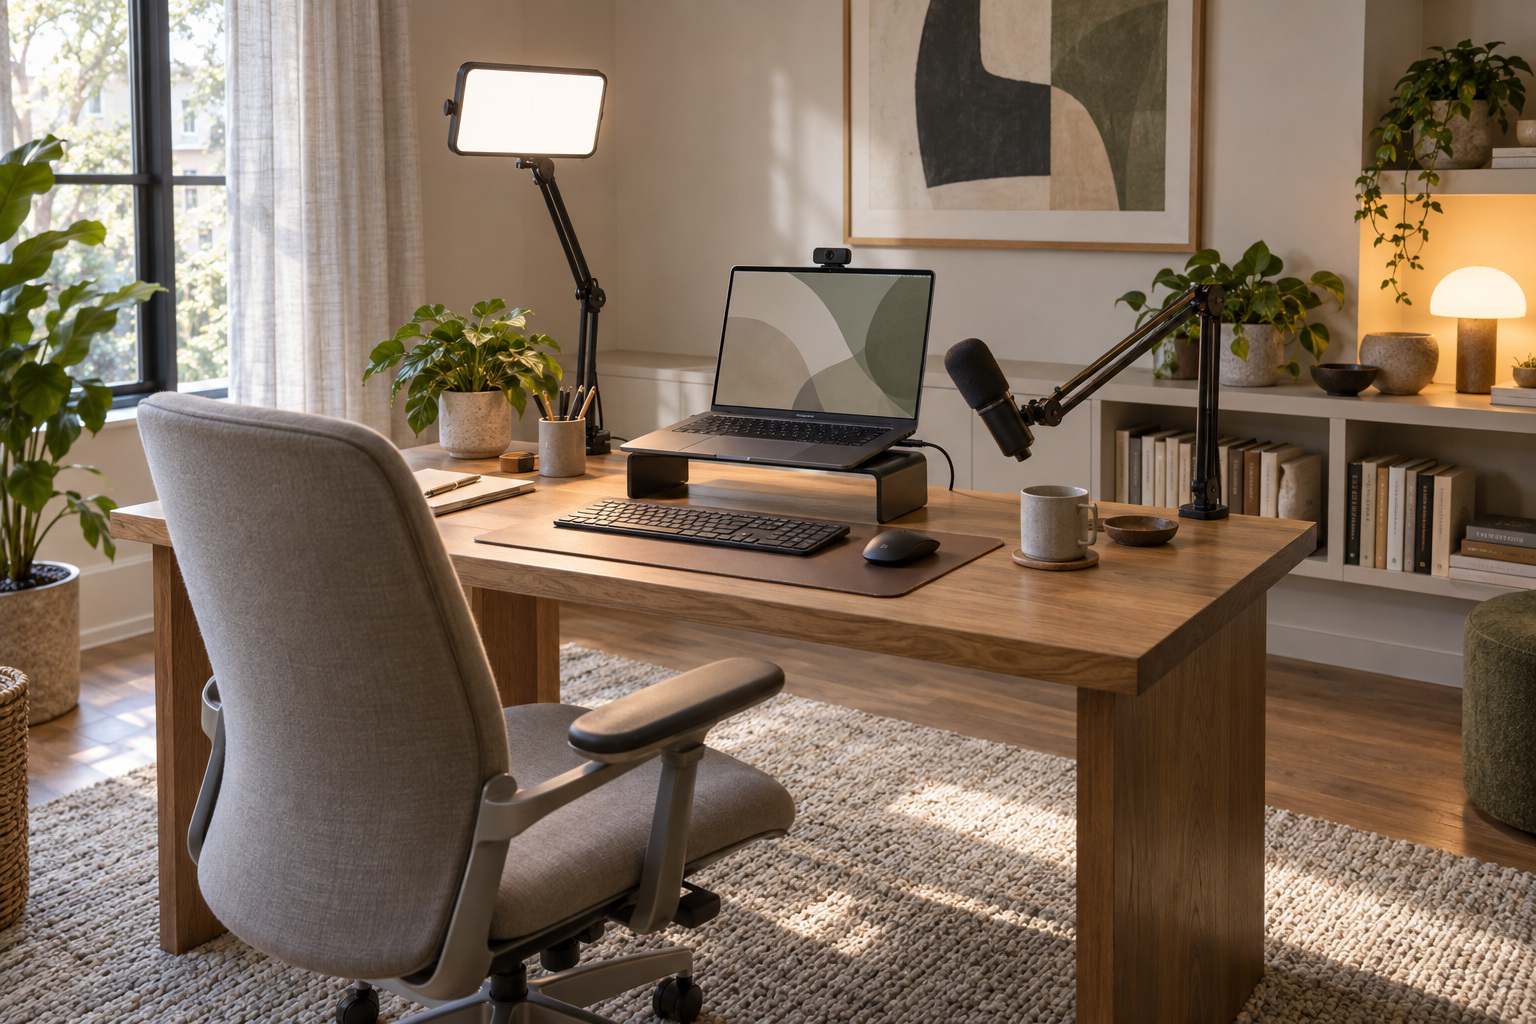
You buy a better webcam, join the next call, and still look like someone working under a ceiling bulb. The camera changed. The room did not.
The verdict up front: for a seated video-call setup, fix lighting and framing before buying another camera. Check audio alongside them; if people struggle to hear you, sound moves to the front of the queue. This is a practical troubleshooting order, not a measured ranking of what clients notice. Spend on the problem you can actually see or hear.
1. Lighting: give the camera something to work with
Start with a window in front of you or slightly to one side. If direct sun makes you squint or washes out your face, soften it with a curtain. Check at your usual meeting time. Morning light does not promise the same result at 4 p.m.
For calls after dark, the Elgato Key Light Air MK.2 offers a desk clamp and onboard controls. Elgato specifies [1] USB-C power and brightness that varies with the power source. Check the bundle and your desk edge before ordering. Place the panel just above eye level, facing you, then reduce brightness until your face looks natural.
The BenQ ScreenBar Halo 2 serves a different job. BenQ describes [2] desk illumination and a rear ambient light. Buy it for the work surface, not as a substitute for light aimed at your face.
2. Framing: stop giving the ceiling a speaking role
Raise the lens to roughly eye level and start about an arm’s length away. Adjust until your head and upper chest fit comfortably, with a little space overhead. Camera lenses vary, so treat that distance as a starting point.
A stable stack of books may be enough. A laptop riser makes the arrangement less improvised, but a fixed-height stand cannot guarantee your ideal angle. Use a separate keyboard and mouse if raising the laptop makes typing awkward.
3. Audio: listen before adding equipment
Record a short sample using your actual meeting app. Listen for room echo, keyboard taps and words disappearing into background noise. Try your existing headset before shopping.
A Shure MV6 is an option if you want a dedicated USB microphone. Shure lists [3] automatic level adjustment and noise reduction, but processing does not make placement irrelevant. Bring the mic closer and repeat the recording.
Consider a boom arm only if the supplied stand cannot put it where you need it. Check the microphone’s mounting thread, supported weight and clamp clearance. Curtains and soft furnishings can help with reflections; they cannot silence a dishwasher beside your kitchen workspace.
4. Camera: upgrade for a remaining limitation
Once the basics work, decide what your camera still cannot do. Poor focus, awkward placement or a need to follow presentations can justify replacing it. A recent laptop camera may already be adequate.
Our Link 2 Pro vs MX Brio 705 comparison explains tracking, software requirements and 5 alternatives. Choose for your workday rather than assuming 4K makes every call better.
5. Background: make the frame easy to live with
Remove distractions visible in the preview. Leave some depth behind your chair if the room allows it. A shelf or lamp can add warmth; a plain wall is also fine. You do not need to redecorate a kitchen for a weekly check-in.
Who should skip the shopping list
If occasional internal calls already look and sound clear, keep your setup. Before the next important meeting, make one short recording at the time you usually work. Fix the most distracting thing in it, then record again.
Citations
More field guides
Research the next purchase
Choose the room or problem you are working on next.
Browse all guides