
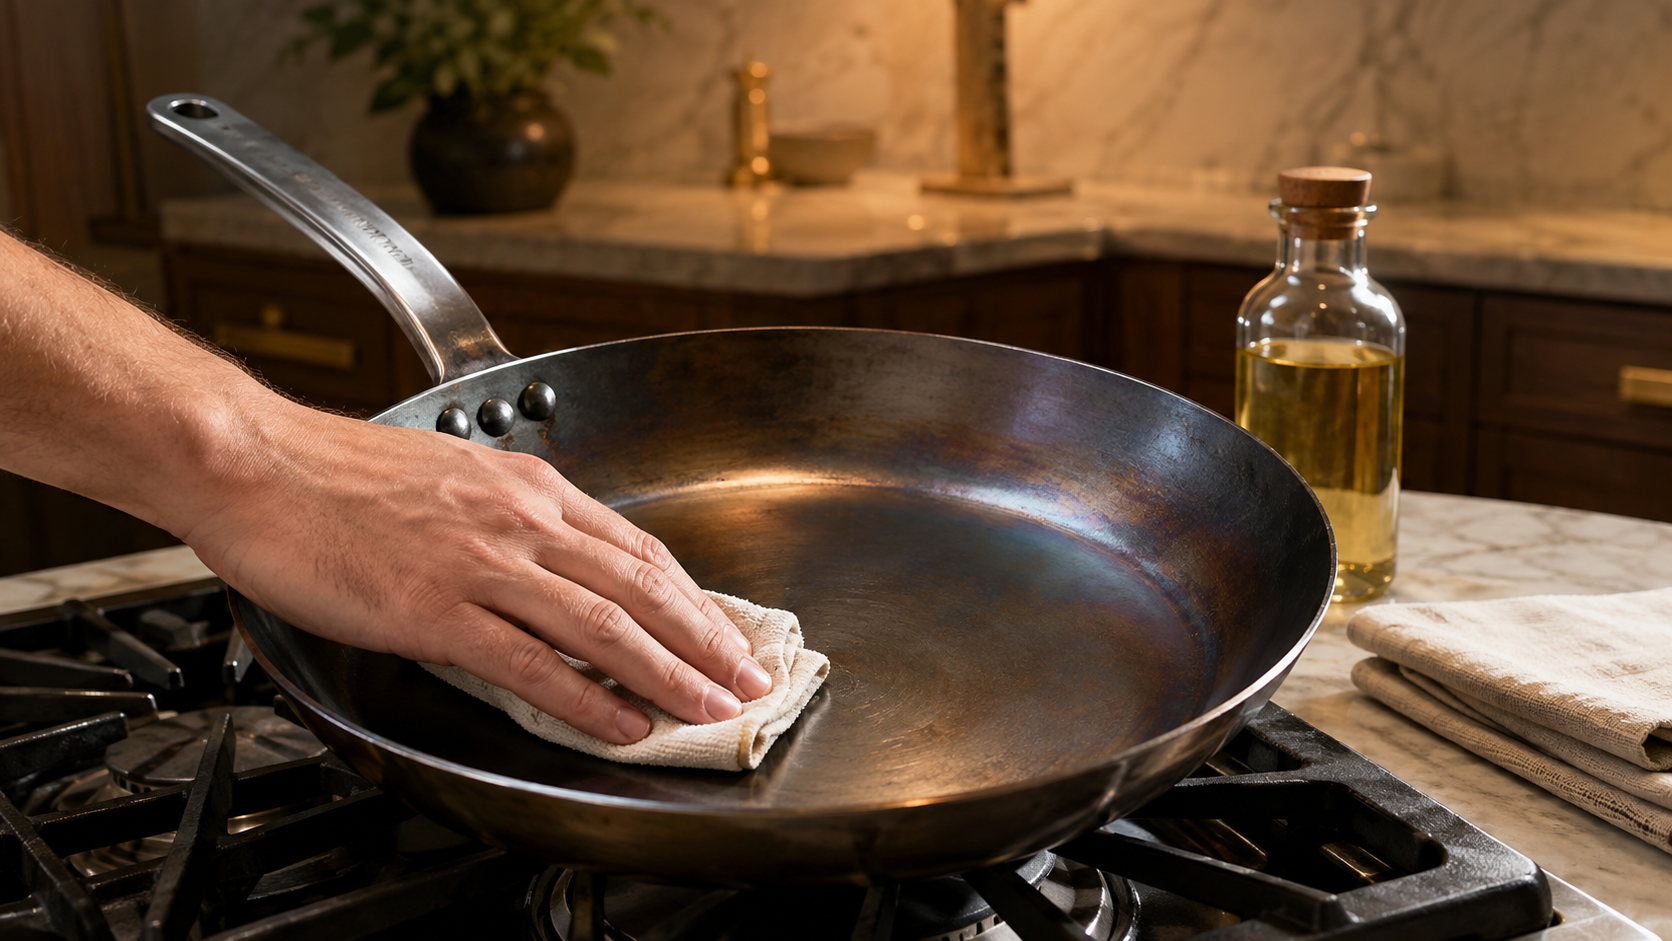
Carbon steel seasoning has acquired the mythology of a sacred ritual. It is closer to painting without the need for years of practice: prepare the surface, use thinner coats than feel reasonable, and let heat cure them. The pan does not need to look perfect. It needs to be dry, protected, and pleasant to cook on. Just like we need to stretch everyday, so to should the pan be maintained if it is being utilized.
The short answer: wash away the factory protection, dry the pan completely, wipe on a nearly invisible layer of neutral oil, and heat it according to the pan maker’s instructions. Repeat only as needed. After that, cooking builds the surface. If the pan rusts, sticks, turns gummy, or sheds loose seasoning, you can repair the affected area. You rarely need to strip the whole pan.
What seasoning is—and what it is not
Seasoning is a thin film of oil transformed by heat and oxygen into a hard layer bonded to the steel. That process is called polymerization. It protects bare metal from moisture and improves food release.
It is not a permanent black coating applied in one afternoon. A new carbon steel pan often moves through silver, gold, brown, blue-gray, and black patches. Those uneven colors are normal. The center may lighten after a tomato, a splash of wine, or an aggressive scrub. Performance matters more than a uniform photograph.
Two rules prevent most failures:
- Use less oil. After applying it, buff with a clean towel until the pan looks dry. Visible beads and streaks become sticky spots.
- Use the temperature your pan allows. Oil does not need a theatrical cloud of smoke to become seasoning. A faint wisp can be a useful signal during stovetop seasoning, but sustained smoke means more fumes, not better chemistry.
Before you start: identify the pan
Do not put a pan in a 475°F oven because a generic guide told you to. Check the handle and the manufacturer’s instructions first.
- Raw carbon steel may arrive under beeswax, oil, lacquer, or another rust barrier. Remove it as directed before seasoning.
- Pre-seasoned carbon steel needs washing and drying, then can usually go straight to cooking.
- Silicone sleeves must normally come off before high oven heat.
- Coated, wooden, or otherwise limited handles may make stovetop seasoning the only safe method.
- Enameled cast iron and coated nonstick do not use this process.
The distinction is real even within one brand. de Buyer’s Mineral B Pro has an oven-safe stainless handle; the standard Mineral B has limited oven guidance. Treat the model, not the logo, as the authority.
The best oil for seasoning carbon steel
Use an inexpensive neutral cooking oil that forms a thin film easily. Canola, grapeseed, sunflower, and ordinary vegetable oil all work. I use grapeseed oil, but there is no need to buy a special bottle if canola is already in the cabinet.
Avocado oil can work, though its high smoke point makes temperature cues less obvious. Flaxseed oil is not necessary; it can produce a hard-looking initial finish, but brittle, overbuilt layers are prone to flaking. Butter and unrefined oils contain solids or flavor compounds that make them poor choices for an initial coat.
The oil matters less than the thickness. A mediocre oil applied correctly beats an expensive oil left in puddles.
Method 1: season on the stovetop
This is the safest default for a carbon steel skillet with an uncertain oven rating.
1. Remove the factory protection
Follow the maker’s directions. For beeswax, hot water, dish soap, and firm scrubbing usually do the job. Some newer pans arrive in protective packaging without a surface coating, so do not attack bare steel simply because an older review did.
2. Dry the pan completely
Towel it, then place it over low heat until every trace of moisture is gone. Bare steel can flash-rust surprisingly quickly.
3. Warm the pan and add a tiny amount of oil
Let the pan warm over medium-low heat. Add roughly a teaspoon of oil, spread it across the interior, and use a clean towel to buff it away. The surface should look satin-dry, not glossy.
If the exterior is bare steel, you can protect it with the same thin film. Do not oil silicone, wood, painted sections, or coated handles.
4. Heat gradually
Raise the burner toward medium or medium-high. Move and rotate the pan so the sides heat as evenly as practical. The steel may darken and the oil may give off a faint wisp. Keep ventilation running, then remove the pan from the heat and let it cool safely.
On induction or glass, step through low and medium settings instead of jumping to maximum power. Rapid, concentrated heating can warp carbon steel.
5. Repeat if the surface still looks bare
One to three very thin rounds are enough to begin. More is not automatically better. The durable surface comes from cooking, not from stacking a dozen rushed layers before dinner.
Method 2: season in the oven
Oven seasoning gives the interior and exterior more even coverage, but use it only when the entire pan is rated for the required heat.
- Wash and dry the pan.
- Wipe a very thin film of oil over every bare-steel surface.
- Buff until the pan looks dry.
- Place it upside down on an oven rack, with a sheet pan or foil on a lower rack to catch any accidental drip.
- Bake for the time and temperature specified by the manufacturer, then cool safely.
There is no responsible universal temperature. Matfer recommends about 400°F for 45 minutes in its oven method. de Buyer specifies 475°F for one hour for the Mineral B Pro. Those instructions differ because the products differ. Use the number for your pan.
What to cook first
Choose food that uses a little oil and moves around the pan: sautéed onions, potatoes, fried rice, or vegetables. These cooks build seasoning without demanding perfect release from a young surface.
Eggs are a poor first exam because they test temperature control as much as seasoning. Bacon can contain sugar that burns and sticks. Long tomato, vinegar, wine, and citrus cooks can strip a young surface. None will destroy the steel, but they can erase the work you just did.
The daily care that matters more than setup
The essential habit is dry steel, not ceremonial oiling.
- Let the pan cool enough to handle, then wash it with hot water and a brush or non-scratch pad.
- Use a small amount of dish soap when needed. Modern soap does not dissolve properly bonded seasoning.
- Do not soak the pan or leave it in the dishwasher unless the manufacturer explicitly says that is acceptable.
- Dry it immediately with a towel, then warm it briefly on the burner to remove hidden moisture.
- If the pan will sit unused or your kitchen is humid, buff a drop or two of oil across the surface before storage.
A plastic pan scraper handles most residue. A chainmail scrubber is useful for stubborn carbon, but pressure matters: scrub the stuck patch rather than grinding away the whole surface.
Why food sticks
Seasoning gets blamed for problems caused by heat and moisture. Check these in order:
- The pan was too cold. Preheat gradually before adding cooking fat and food.
- The pan was too hot. Eggs can seize on overheated steel even when the seasoning is good.
- The food was wet. Pat proteins dry; surface water fights browning and release.
- The food was moved too early. Meat often sticks at first, then releases after a crust forms.
- There was too little fat. Carbon steel can become slick, but it is not a new PTFE pan.
- The surface is rough with residue. Burned food is not seasoning. Clean it away.
If those variables are controlled and the same area still grabs, add one thin seasoning coat or simply cook a few forgiving, oil-friendly meals.
How to fix rust
Orange surface rust looks terminal and usually is not.
- Scrub the rust with an abrasive pad, steel wool, or chainmail until clean steel is exposed.
- Wash away the residue.
- Dry immediately over low heat.
- Apply one very thin coat of oil and season the repaired area.
For heavy rust, you may need to take more of the pan back to bare metal. Pitting can leave texture, but it does not automatically make the pan unusable. Rust keeps returning only when moisture remains or bare steel is stored without protection.
How to fix a sticky or gummy surface
Gumminess is usually excess oil that did not cure into a thin, hard film. Do not cover it with another coat.
Scrub the tacky area with hot water and an abrasive pad until it feels smooth rather than sticky. Dry the pan, apply far less oil than before, buff it away with a fresh towel, and heat again. If only one patch is gummy, repair one patch. The rest of the seasoning does not need to become collateral damage.
How to fix flaking seasoning
First decide whether it is actually flaking. Color variation and pale patches are normal. Loose edges, black chips on the towel, or sheets lifting from the pan are not.
Remove everything that is loose with a scrubber or steel wool, feathering the edge until the remaining seasoning is firmly bonded. Wash, dry, and rebuild the exposed steel with one or two thin coats. Strip the whole pan only if failure covers most of the surface.
Thick initial coats and layers baked over old carbon are common causes. The repair is subtraction before addition.
How to recover seasoning stripped by acidic food
A tomato sauce can leave a silver or gray patch and a metallic smell. The pan is not ruined. Wash away the residue, dry it, and add a thin stovetop seasoning coat. If the surface feels smooth, that is enough. Use stainless steel or enameled cookware for the next long acidic simmer and let ordinary cooking rebuild the carbon steel.
Carbon steel troubleshooting chart
| What you see | Likely cause | What to do |
|---|---|---|
| Patchy brown, blue, or black color | Normal seasoning development | Keep cooking |
| Orange dust or spots | Moisture reached bare steel | Scrub rust, dry, re-season locally |
| Sticky or tacky film | Too much oil or incomplete curing | Scrub smooth; reapply an almost invisible coat |
| Black residue on a towel | Loose carbon or weak seasoning | Clean until the towel stops collecting debris |
| Food sticks despite good heat control | Thin seasoning or baked-on residue | Clean thoroughly; add one thin coat if needed |
| Loose chips or peeling sheets | Thick or poorly bonded layers | Remove all loose material and rebuild locally |
| Silver patch after tomato or wine | Acid stripped seasoning | Wash, dry, and re-season the exposed area |
| Pan rocks on a flat burner | Warping from rapid or uneven heat | Contact the maker if new; preheat gradually in future |
Frequently asked questions
Does carbon steel need to be seasoned after every use?
No. It needs to be clean and completely dry. A microscopic storage coat of oil helps prevent rust, but you do not need to run a full seasoning cycle after dinner.
Can I use soap on carbon steel?
Yes. A small amount of ordinary dish soap is fine. Avoid long soaks, dishwashers, and aggressive cleaning that removes more than the stuck food.
How many coats does a new pan need?
Usually one to three thin coats before cooking. Manufacturer instructions vary. A pan improves through repeated use, and ten setup coats are not ten times better.
Why does my pan look worse after I cook?
Because seasoning is a working surface, not a decorative finish. Proteins, acids, burner patterns, and scrubbing change its color. If the surface is smooth, dry, and not shedding, keep cooking.
Does this guide apply to cast iron?
The thin-oil principle and most repairs do. Cast iron is heavier, rougher, and usually fully oven-safe, but enameled cast iron is the exception: do not season enamel as if it were bare metal.
The mindset that makes carbon steel easy
Perfection is the trap. A pan that looks mottled but cooks well is healthy. A glossy black pan with sticky oil is not.
Keep the steel dry. Use thin coats. Repair only what failed. Then cook enough that the pan stops being a project and becomes what it was meant to be: a tool with memory, carrying a faint record of every meal without being trapped by any one of them.
Sources checked
- de Buyer: Mineral B Pro oven-seasoning method
- de Buyer: model-specific carbon steel seasoning guidance
- de Buyer: Mineral B oven limits and care
- Matfer Bourgeat: stovetop, oven, and induction guidance
- Lodge: how to clean cast iron
- Misen: pre-seasoned carbon steel use and care
Still choosing a pan? Compare the best carbon steel pans, or step back to carbon steel vs. cast iron vs. nonstick.
More field guides
Research the next purchase
Choose the room or problem you are working on next.
Browse all guides